

How the system fits together
This is your system as it sits in the cabinet under your sink. Each installation step below picks out the part it's about.

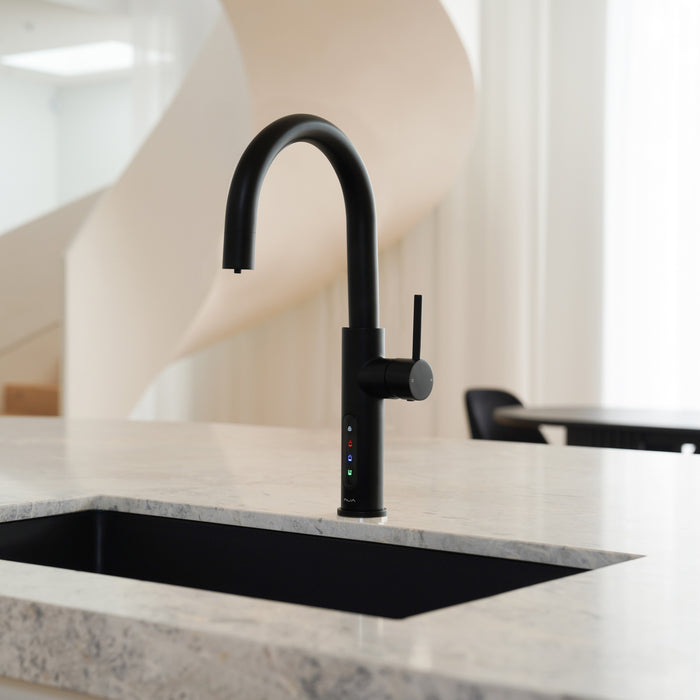
Taps that pour filtered boiling, chilled or sparkling water.
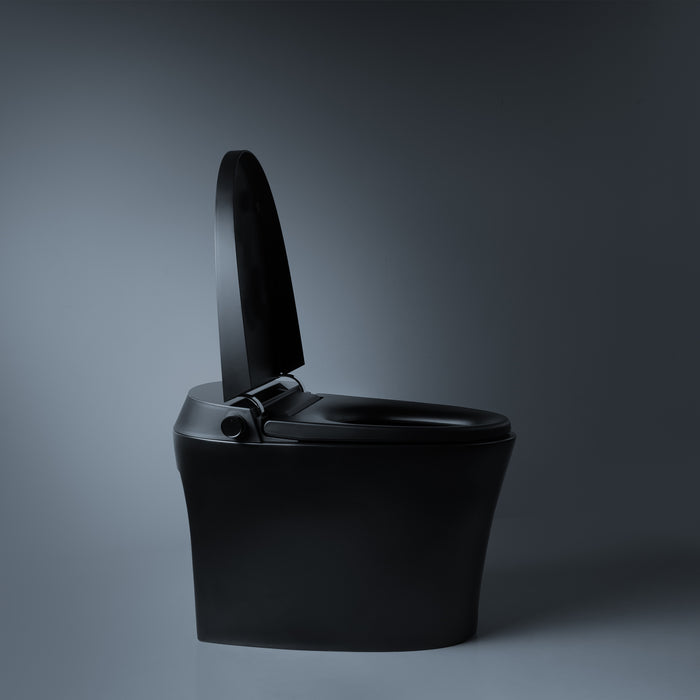
A toilet with an integrated bidet, heated seat and warm air dryer.
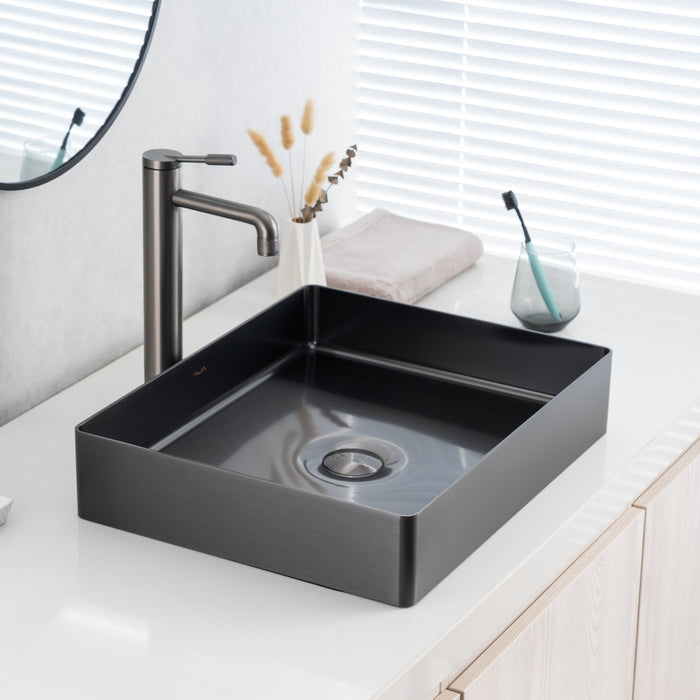
Round and rectangular basins that sit on top of the vanity.
For Alia owners. Upgrade kits, taps sold on their own, filter cartridges and CO₂.
Filtered boiling and chilled water, plus normal hot and cold, from one tap.
See all boiling & chilled water tapsFiltered boiling, chilled and sparkling water from one tap.
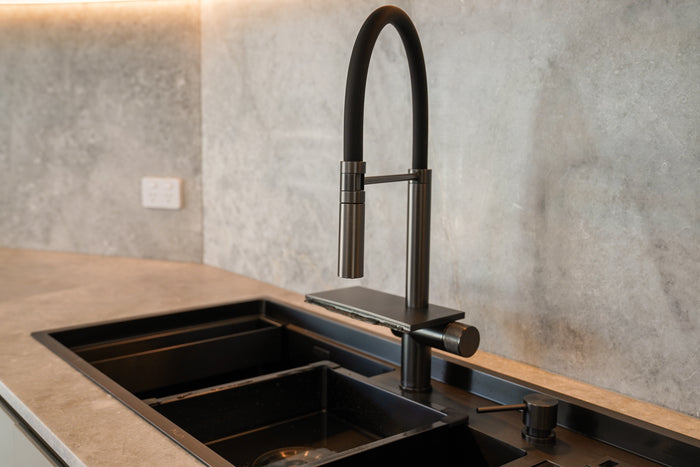
See all sparkling water tapsTwo-bowl stainless steel sink with a built-in cup washer and pull-out mixer.
See the Smart SinkProduct support
Everything your experienced licensed plumber needs to install the Alia 4 in 1 Boiling and Ambient, from the space under your sink to the first pour.

This is your system as it sits in the cabinet under your sink. Each installation step below picks out the part it's about.
Drag to turn the Alia 4 in 1 Boiling and Ambient system, and pinch or scroll to zoom in. On a phone you can also see it in your own room with the AR button.
This is the drawing your plumber works from. The hose numbers 1 to 7 match Alia's installation guide, in the downloads below.
Leave a clear space 500mm wide, 580mm deep and 450mm high inside the cabinet under your sink.
Keep room around the units for air and for changing the filter. Place the units close to the tap, so the hoses stay short and don't twist.
You need one powerpoint under the sink, for the Bollente.
Each unit plugs into its own earthed, switched powerpoint. Don't use a double adaptor or an extension lead.
The Bollente needs power all the time, so leave its powerpoint on. If there is no powerpoint yet, a licensed electrician must fit one before installation day.
Your plumber connects the tap to your hot and cold water, and the filtered water system to the cold supply.
Fit the tap to the benchtop with the mounting parts packed with it, and follow the fitting instructions that come with the tap. Its base is 45mm across and it uses an M34 × 1.5 thread. It needs a 35mm hole in the benchtop.
Feed its hoses down into the cabinet without twisting them.
Fit the Alia pressure limiting valve to the cold stop tap. Check its O-ring is seated before you tighten it. Don't rely on a valve that's already in your home.
If your mains pressure is above 500 kPa, the Bollente manual asks for a pressure reducing valve on the cold mains inlet. Your plumber can check this.
Fix the filter head where you can reach it to change the cartridge, with its carriage facing down.
Wrap both threads with thread-seal tape and fit the two grey connectors. Tighten them by hand, then finish with a spanner. Don't over-tighten, or the O-ring or the plastic fitting can crack.
Water flows through the filter one way only. Follow the arrow on the head, from in to out.
Connect hose 2 to the hot stop tap and hose 1 to the T-piece on the pressure limiting valve. These two feed the mixer lever.
From the T-piece, run hose 7 to the inlet side of the filter. From the filter outlet, fit a T-piece and run hoses 3 and 4 up to the tap.
Slide the filter into its cradle and take the cap off the cartridge. Push it into the head and turn it clockwise until it locks.
Write today's date on the label, so you know when it's due for a change.
Stand the Bollente upright and level, close to the tap. Check the hoses reach it without twisting and the plug reaches its powerpoint without stretching.
Leave 50–100mm of air at each side and about 25mm at the back. Keep the display at the front, where you can reach it.
Check hoses 3 and 4 run from the filter T-piece to the tap without kinks.
The Bollente's inlet and outlet are both 3/8" BSP male threads. Fit the right connectors to the tap hoses and tighten them gently with a spanner.
Run hose 5 from the tap to the blue inlet and hose 6 from the red outlet back to the tap.
Turn on the water. Turn the left handle towards you and run filtered ambient water for 60 seconds, to flush the filter.
Then run the mixer lever, so water reaches the tap.
Press and hold the safety button and turn the left handle away from you. Hold it until water flows steadily from the spout. It takes about 90 seconds, and it means the Bollente is full.
Let go of the handle and check every connection point. Tighten any that leaks, then fill and check again before you plug anything in.
Make sure the cabinet is dry. Plug the Bollente into its powerpoint and switch it on. Hold its power button for 3 to 4 seconds, choose a temperature with SET and confirm with OK.
It's set to 98°C by default. If the water seems to boil all the time, lower the setting to 95°C.
With everything running, check every connection point once more. Make sure the install date is on the filter label.
Show the household how the safety button works for boiling water.
From Alia's 4 in 1 drawing. All sizes are in millimetres. Drill a 35mm hole in the benchtop for the tap.
| Part | Detail |
|---|---|
| Tap | 397.3mm high, 200mm reach, 230.4mm from the benchtop to the outlet |
| Tap base and thread | 45mm base, M34 × 1.5 thread |
| Benchtop hole | 35mm |
| Bollente boiling unit | 195mm wide, 200mm deep, 295mm high. 2.4 L tank, up to 1.6 L per pour, 1600 W |
| Boiling temperature | Seven settings from 35°C to 98°C, set to 98°C by default |
| Filtered ambient water | Filtered, not heated or chilled |
| Filter | F5000L, 5-micron activated carbon block. Change it every 8–12 months |
| Powerpoints | One, one per unit |
| Cabinet space | 500mm wide, 580mm deep, 450mm high inside |
| Pressure limiting valve | 500 kPa, supplied |
| Models covered | AG-R41BG, AG-R41NI, AG-R41MB, AG-R41GM |
Nothing matches that search. Our team can help on (03) 9219 0189
Call or email our team. Have your model and proof of purchase handy.