Product support

Alia 4 in 1 Tap Only fitting and support

How your licensed plumber swaps the tap on your 4 in 1 system, what comes in the box and where to get help.

Alia 4-in-1 boiling and ambient tap controls labelled: spout, mixer lever and handles

About the tap

What it is for

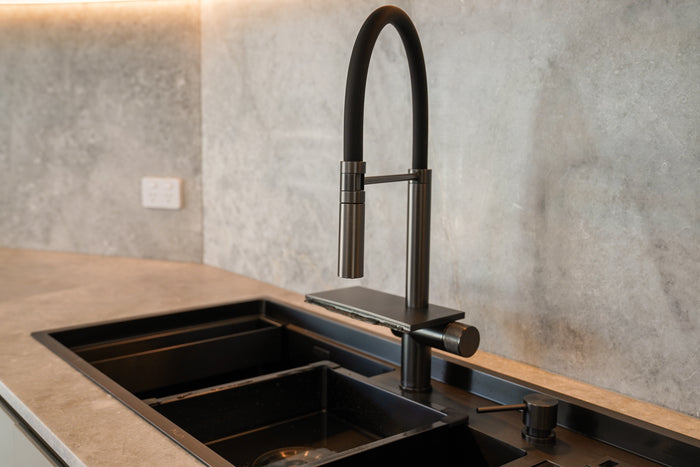
This is the Alia 4 in 1 tap on its own, for a 4 in 1 system you already own. Owners choose it to replace a tap or to change its finish.

It needs the Bollente and the filter already under your sink. Without them it can't pour boiling or filtered water.

What comes in the box

  • Alia 4 in 1 tap, with two handles
  • The hoses that connect it

There is no Bollente, Chilled Stream, filter or pressure limiting valve in the box.

Which systems it fits

It fits both 4 in 1 systems, the 4 in 1 Boiling and Ambient and the 4 in 1 Boiling and Chilled.

It doesn't fit an Alia X51 system. For that, see the Alia X51 Tap Only guide.

The two handles

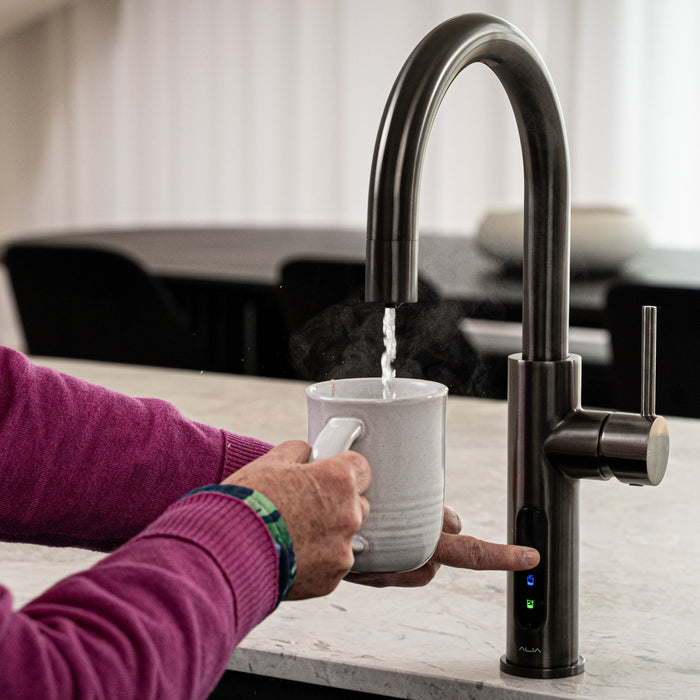
The left handle pours your filtered water. Hold its safety button and turn it away from you for boiling water.

Turn it towards you for filtered ambient water, or for chilled water if your system has a Chilled Stream. The lever on the right gives your everyday hot and cold water.

Before your plumber starts

Tools your plumber needs

  • Tape measure
  • Adjustable spanner
  • Thread-seal tape

4 in 1 tap dimensions

From Alia's 4 in 1 drawing. All sizes are in millimetres. The tap is 397.3mm high, and its outlet sits 230.4mm above the benchtop with 200mm of reach.

It needs a 35mm hole in the benchtop, the size your 4 in 1 already uses.

Fitting the tap

Step 1. Take out the old tap

Disconnect the old tap's hoses under the sink. Undo its fixing under the bench and lift the old tap out through the benchtop.

Step 2. Mount the new tap

Fit the new tap through the 35mm hole your 4 in 1 already uses. Its base is 45mm across and it uses an M34 × 1.5 thread.

Feed its hoses down into the cabinet without twisting them.

Step 3. Connect the tap hoses

Connect hose 2 to the hot stop tap and hose 1 to the T-piece on the pressure limiting valve. These two feed the mixer lever.

On a Boiling and Ambient system, run hoses 3 and 4 from the T-piece at the filter outlet up to the tap.

On a Boiling and Chilled system, run hose 3 from the filter outlet and hose 4 from Water Out on the Chilled Stream.

The tap threads are reversed. Hold each hose as you tighten it, so it doesn't unwind from the tap.

Step 4. Connect the Bollente

The Bollente's inlet and outlet are both 3/8" BSP male threads. Fit the right connectors to the tap hoses and tighten them gently with a spanner.

Run hose 5 from the tap to the blue inlet and hose 6 from the red outlet back to the tap.

Step 5. Fill the Bollente

Turn on the water. Press and hold the safety button and turn the left handle away from you. Hold it until water flows steadily from the spout. It takes about 90 seconds, and it means the Bollente is full.

Step 6. Check for leaks before power

Let go of the handle and check every connection point. Tighten any that leaks, then fill and check again before you plug anything in.

Step 7. Switch the units back on

Plug in the Bollente and switch on its powerpoint. Check its display is lit. If it is dark, hold the power button for 3 to 4 seconds, choose a temperature with SET and confirm with OK.

Then plug in the Chilled Stream, if your system has one.

Step 8. Final check and handover

With everything running, check every connection point once more. Pour each water to check both handles work.

Show the household how the safety button works for boiling water.

After the swap

4 in 1 tap at a glance

PartDetail
FinishesBrushed Gold, Brushed Nickel, Matte Black and Gunmetal Grey
ControlsFully mechanical, with two handles
Size397.3mm high, 200mm reach, 230.4mm from the benchtop to the outlet
Base and thread45mm base, M34 × 1.5 thread
Benchtop hole35mm
CertificationWaterMark licence WMK26897, AS 3718, marked lead free

Troubleshooting

The handle won't turn for boiling water

Press and hold the safety button on top of the left handle while you turn it away from you.

E3The Bollente display shows E3

E3 means the tank is empty, so the heater won't switch on. This protects the unit.

Switch the Bollente off at its power button. Press the safety button and turn the left handle away from you until water flows steadily. Switch the Bollente on again.

There's water under the sink

Turn off the stop taps and switch off each unit at its powerpoint. Dry the area and look for the wet connection point.

Call your plumber to fix it, and call us on (03) 9219 0189 if a part needs replacing.

Warranty and help

Your warranty

Your tap is covered by Alia's 2-year warranty, like every Alia product. Keep your proof of purchase.

Don't open, modify or repair the tap or a unit yourself. It's unsafe and it voids your warranty. Read the full warranty policy.

Downloads

Still need help?

Call or email our team. Have your model and proof of purchase handy.