


Product support
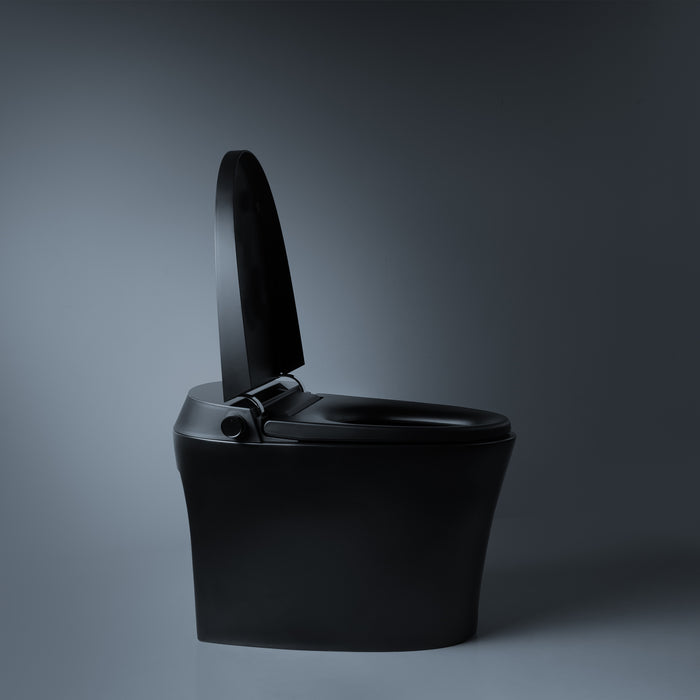
Alia AG-ST1000 Smart Toilet operation and maintenance
How to use the remote and the side knob, look after your smart toilet and flush in a power or water cut.

How to use it
Product introduction
The remote
Every button on the remote
- Stop — stops whatever is running.
- Flush — a short press gives a half flush, a long press a full flush.
- Rear Wash — starts the rear wash. Press it again for the moving wash, where the nozzle moves back and forth.
- Front Wash — starts the front wash. Press it again for the moving wash.
- Massage — during a wash, switches to a pulsing stream.
- Dryer — starts the warm air dryer.
- Water pressure + and – — five levels of wash strength.
- Nozzle position up and down — five positions, forward and back.
- Water, air and seat temperature — six levels each. At the lowest level, that heating is off.
- Night light — turns the night light on or off.
- Open/Close — with both closed, press once for the lid and twice for the seat. A third press closes both. With both open, one press closes them.
The side knob
Using the side knob
- Sit down first. Turn the knob anticlockwise for the rear wash or clockwise for the front wash. It stops by itself at the end of the wash.
- Press it to stop a wash or the dryer. When nothing is running, press it to flush.
- Hold it for 5 seconds for standby. The knob light flashes every 5 seconds and nothing runs. Hold it again to wake the toilet.
Shortcuts and automatic functions
Remote shortcuts
- Clean the nozzle by hand — hold Stop and Rear Wash for 3 seconds. The nozzle reaches out and rinses. Press Stop to finish.
- Automatic nozzle clean — hold Stop and Front Wash for 3 seconds. It runs 10 cleaning cycles and stops if someone sits down.
- Mute mode — hold Stop and Dryer for 3 seconds to turn the beeps off. Do the same to turn them back on.
- Knob light — hold Night Light for 5 seconds to turn the knob light off or on.
- Standby — hold the side knob for 5 seconds.
What it does by itself
- Auto flush — in auto-flush mode, if you've been seated for 30 seconds or more, it flushes about 5 seconds after you stand up.
- Gentle close — the seat and lid lower slowly. Don't push them down.
- Seat warmth — after a long sitting, the seat drops to its lowest heat level, to prevent low-temperature burns.
- Seat sensor — washing, drying and the deodoriser only run while you're seated. Don't cover the sensor.
Care and maintenance
Cleaning
Step 1. Clean the toilet body
- Switch it off at the powerpoint.
- Wipe it with a soft, damp cloth, then let it dry.
- Switch it back on.
Don't pour water or cleaner onto the body or the plug.
Step 2. Clean the nozzle
- Hold Stop and Rear Wash on the remote for 3 seconds. The nozzle reaches out.
- Wipe it gently with a soft cloth or a soft brush.
- Press Stop. The nozzle goes back in by itself.
Parts you replace
Step 3. Replace the activated carbon
The activated carbon in the deodoriser keeps the air fresh. Switch the toilet off and close the angle valve before you start. If you'd rather not, your plumber can do it.
- Open the two rubber plugs, undo the two screws and lift out the screws and washers.
- Disconnect the four water pipes. Gently lift the base, turn it over and take off the activated carbon cover.
- Take out the old carbon, put in the new one, then refit the cover and lock it.
- Reconnect and tighten the four water pipes. Fit the cover back into the ceramic, tighten the screw and refit the rubber plugs.
Step 4. Remote batteries
The remote takes two AAA alkaline batteries. When its red light flashes or stays on, fit new ones. Match the + and – marks, and don't mix old and new batteries.
Step 5. Backup flush battery
- Lift the battery box from the back of the toilet and unplug its connector.
- Open the box and swap the old 9 V battery (type 6F22) for a new one.
- Plug the connector back in and put the box back behind the toilet.
Long breaks
Step 6. Away for a long time, or freezing weather
- Unplug the toilet.
- Close the angle valve, unscrew the hose from it and drain the water from the pipe. Then refit the hose.
- For extra protection against frost, add antifreeze to the water left in the bowl.
When you use it again, turn the water on first, then plug it in.
Power or water cuts
Step 1. In a power cut
If the spare battery box is fitted with a good 9 V battery, press the side knob to flush.
Step 2. In a water cut
Pour about 7 L of water into the bowl to flush it. Pour carefully so it doesn't overflow.
Using it safely
Safe everyday use
- Unplug it during a thunderstorm.
- Don't stand on the toilet, the seat or the lid, or lean back on the lid.
- Connect it only to your mains tap water.
- Keep fingers and objects out of the dryer outlet.
- Children may use it with supervision, and shouldn't play with it.
- If something isn't working properly, stop using it, switch it off and call us on (03) 9219 0189.
- If water has soaked the toilet, don't touch it. Unplug it at the powerpoint straight away and call us.
Nothing matches that search. Our team can help on (03) 9219 0189
Still need help?
Call or email our team. Have your model and proof of purchase handy.