Product support

Alia AG-ST1000 Smart Toilet setup and installation

Everything your licensed plumber needs to install your smart toilet, from water and power to pairing the remote.

Alia smart toilet diagram with parts labelled

Before you start

What your bathroom needs

Water and power

  • An earthed powerpoint with an RCD near the toilet, in a dry spot where water can't splash it. No extension lead, and no other appliance on the same powerpoint.
  • A cold water supply at 600–800 kPa, with a flow of at least 20 L/min. Never connect it to the hot water or the water heater.
  • Incoming water between 5°C and 40°C.
  • A floor waste (S-trap) with a 305mm rough-in.
  • A WaterMark-certified backflow prevention device (RPZD) on the supply. Your plumber must fit it.

Toilet dimensions

The toilet is about 675mm long, 430mm wide and 475mm high. It needs a 305mm rough-in, from the wall to the centre of the floor waste.

Alia's technical drawing gives the exact sizes in millimetres.

Parts of your toilet

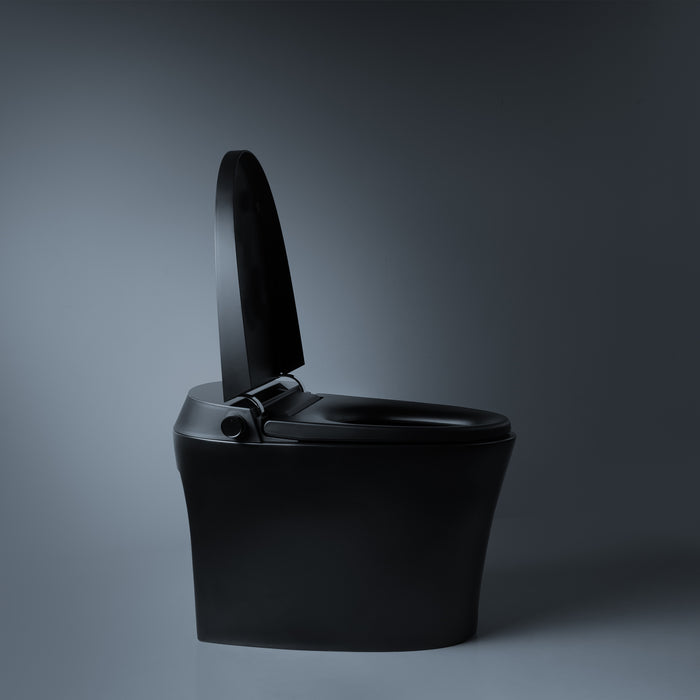
The side knob sits on the right of the toilet as you face it. The water inlet and the power lead are at the back.

Turn it around in 3D

Drag to turn the smart toilet, and pinch or scroll to zoom in. On a phone you can also see it in your own room with the AR button.

In the box

What comes with your toilet

  • The smart toilet
  • Remote, with its wall holder and screws
  • Spare battery box, for flushing in a power cut
  • Wax ring
  • G1/2 angle valve
  • Installation accessories
  • Cardboard installation template
  • Manual and warranty card

Batteries aren't included. The remote takes two AAA alkaline batteries and the battery box takes one 9 V battery.

Tools your plumber needs

  • Electric drill with a 6mm bit
  • Caulking gun
  • Thread-seal tape
  • Knife
  • Spanner, 23–25mm
  • Screwdrivers
  • Steel tape measure

Installation steps

Fit the toilet

Step 1. Fit the angle valve

Mark the centre line of the floor waste on the floor. Fit the supplied angle valve to the wall, placed to suit the toilet's size. Open it briefly to flush out any dirt in the pipe.

Step 2. Mark the position

Lay the cardboard template on the floor, lined up with the centre of the floor waste. Trace around it. This outline is your guide.

Step 3. Fit the mounting bracket

Fix the bracket to the floor with the drill and expansion bolts, lined up with the floor waste and your outline. Tighten the nuts.

Step 4. Fit the wax ring

Press the wax ring onto the outlet under the toilet, centred, so it will seal against the floor waste.

Step 5. Lower the toilet into place

Lower the toilet over the floor waste, lined up with your outline, so the wax ring seals against the waste pipe.

Step 6. Fix it to the bracket

Pass each screw through its fixing sleeve and the hole in the side of the ceramic, into the bracket. Tighten them and press the decorative caps on.

Don't set the base in cement or mortar. It expands and can crack the ceramic.

Connect water and power

Step 7. Connect the water

Connect the inlet hose between the angle valve and the toilet's water inlet, with the filter in place. Use thread-seal tape on the threads.

Only use the new hoses supplied, never old ones.

Step 8. Fit the spare battery box

Put a 9 V battery (type 6F22, not included) in the battery box. Plug its cable into the connector at the back of the toilet. It lets you flush in a power cut.

Step 9. Open the angle valve

Check every threaded joint is tight. Turn the angle valve anticlockwise until it's fully open, then check for leaks.

The valve can feel a little tight the first time you open it.

Step 10. Plug it in

Plug the toilet into its own earthed 10 A powerpoint with an RCD. No extension lead, and no other appliance on the same powerpoint.

Step 11. Watch the self-check

  1. The toilet beeps and the knob light flashes blue while it checks itself.
  2. A second beep sounds and the knob light turns white.
  3. It's ready to use.

Set up the remote

Step 12. Mount the remote holder

Choose a spot on the wall within easy reach. Drill two 6mm holes, 35mm deep, fit the wall plugs and screw the holder on. Or clean the wall and use the adhesive pad on the holder.

Put two AAA alkaline batteries in the remote and rest it in the holder.

Step 13. Pair the remote

  1. Before the toilet is switched on, press and hold Front Wash on the remote until all five lights flash.
  2. Switch the toilet on and press the reset button on the power plug.
  3. When the knob light flashes red and green in turn, press the knob. A beep confirms the remote is paired.
  4. Press Stop on the remote to finish.

Specifications

Technical drawing

Smart toilet specifications

PartDetail
Models coveredAG-ST1000, AG-ST10003W, AG-ST10003B, AG-ST10003C, AG-ST10003S
Size675mm long, 430mm wide, 475mm high
FlushJet siphon, 305mm rough-in. Half and full flush from the remote
Water ratingWELS 4 stars. 3.2 L average flush (4.37 L full, 2.89 L half)
Water supplyCold mains, 600–800 kPa, at least 20 L/min, 5–40°C
Power220–240 V, 50–60 Hz. Earthed 10 A powerpoint with an RCD
Wash waterHeated as it flows. Off, or 30–38°C over six levels
Warm air dryerOff, or 30–50°C over six levels
Heated seatOff, or 30–38°C over six levels
Water resistanceIPX4
Safety devicesTemperature fuses and sensors, earthing, over-temperature protection, leakage protection plug
Backup flush9 V battery box, battery not included

Safety precautions

Please read before you install and use it

  • Its own powerpoint — earthed, with an RCD rated below 10 mA, 220–240 V. No extension lead, double adaptor or shared powerpoint.
  • Reliable earthing — if you're not sure your powerpoint is earthed properly, ask a licensed electrician to check it.
  • Cold mains water only — between 5°C and 40°C. Never connect it to the water heater.
  • No do-it-yourself repairs — don't take it apart or modify it. If the power cord is damaged, have Alia or a qualified technician replace it.
  • Don't stand on it — or lean back on the lid, and don't put heavy things on it. The seat and lid lower slowly by themselves, so don't push them down.
  • Keep flames away — never put a lit cigarette or anything that burns on or in the toilet.
  • Storms — unplug it during a thunderstorm.
  • Flush only toilet paper — no newspaper, sanitary pads or anything else that can block it.
  • Frost — if the room could fall below 0°C, drain the water supply line so it can't freeze and crack.
  • Tap water only — connect it only to your mains tap water.
  • Sunlight — keep it out of direct sun, which can fade it and weaken the remote signal.
  • Base — never set the base in cement or mortar.
  • Hoses — only use the new hoses supplied.
  • Water on the body — don't pour water or cleaner onto the body or the plug, and keep fingers out of the dryer outlet.
  • Children — children may use it with supervision. They shouldn't play with it, or clean it without supervision.

Downloads

Still need help?

Call or email our team. Have your model and proof of purchase handy.