

How the system fits together
This is your system as it sits in the cabinet under your sink. Each installation step below picks out the part it's about.

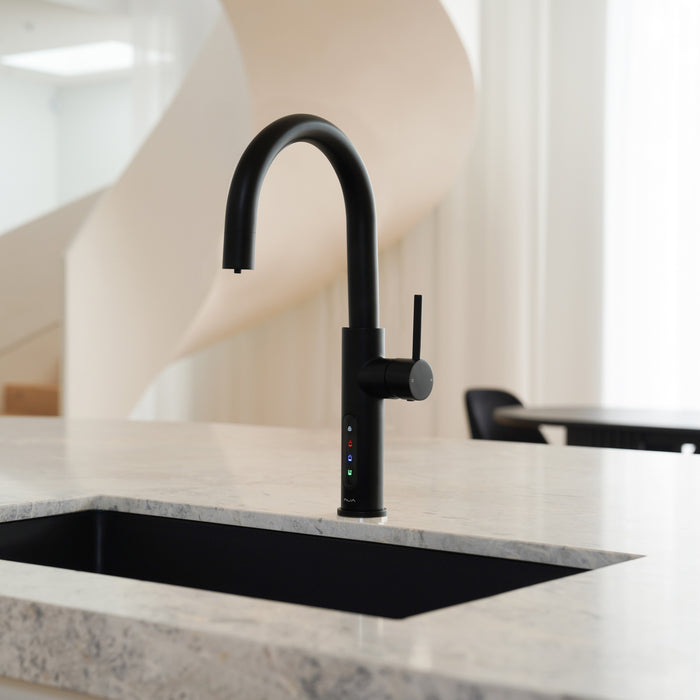
Taps that pour filtered boiling, chilled or sparkling water.
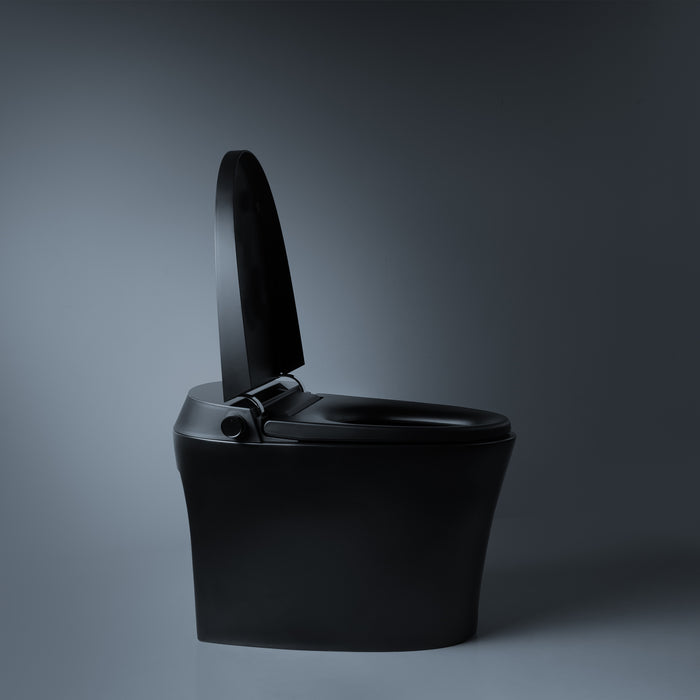
A toilet with an integrated bidet, heated seat and warm air dryer.
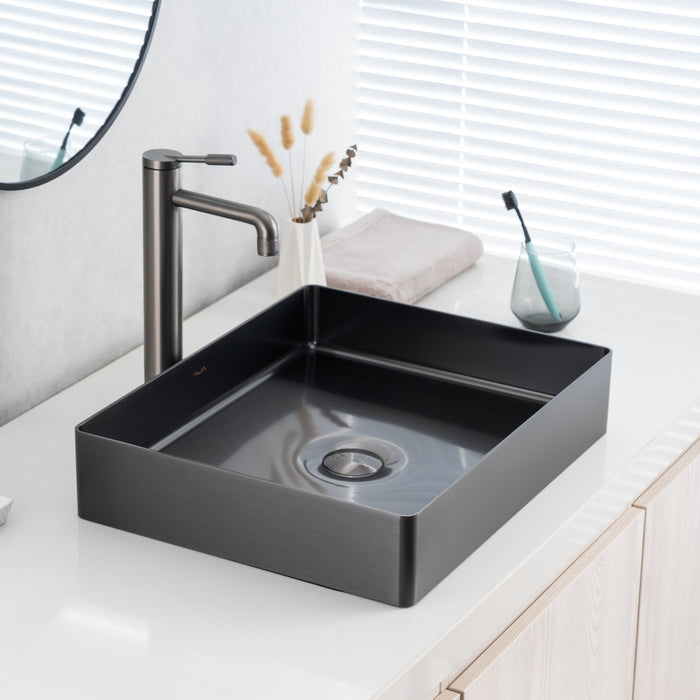
Round and rectangular basins that sit on top of the vanity.
For Alia owners. Upgrade kits, taps sold on their own, filter cartridges and CO₂.
Filtered boiling and chilled water, plus normal hot and cold, from one tap.
See all boiling & chilled water tapsFiltered boiling, chilled and sparkling water from one tap.
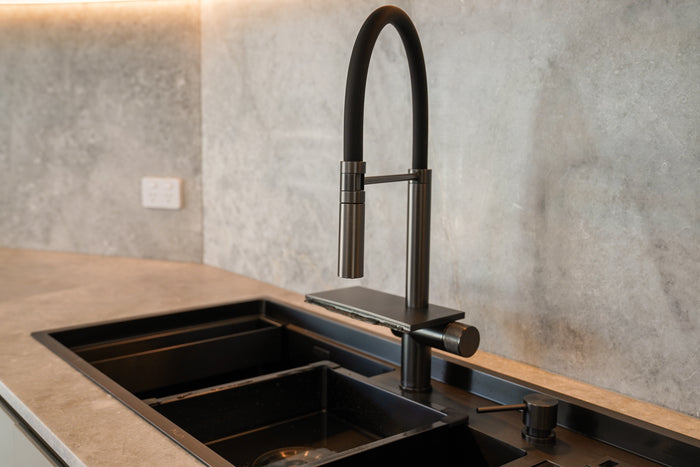
See all sparkling water tapsTwo-bowl stainless steel sink with a built-in cup washer and pull-out mixer.
See the Smart SinkProduct support
Everything your experienced licensed plumber needs to install the Alia X51 Boiling and Chilled, from the space under your sink to the first pour.

This is your system as it sits in the cabinet under your sink. Each installation step below picks out the part it's about.
Drag to turn the Alia X51 Boiling and Chilled system, and pinch or scroll to zoom in. On a phone you can also see it in your own room with the AR button.
This is the drawing your plumber works from. The hose numbers 1 to 5 match Alia's installation schematic, in the downloads below.
Leave a clear space 500mm wide, 580mm deep and 450mm high inside the cabinet under your sink.
Keep room around the units for air and for changing the filter. Place the units close to the tap, so the hoses stay short and don't twist.
You need three powerpoints under the sink, one each for the X51 control box, the Bollente and the Chilled Stream.
Each unit plugs into its own earthed, switched powerpoint. Don't use a double adaptor or an extension lead.
The Bollente needs power all the time, so leave its powerpoint on. If there is no powerpoint yet, a licensed electrician must fit one before installation day.
Your plumber connects the tap to your hot and cold water, and the filtered water system to the cold supply.
Feed the hoses and the low-voltage cable down through a 35mm hole in the benchtop. Put the larger hoses through first, then the smaller ones. Take care not to damage the silicone O-ring.
Under the bench, fit the rubber sleeve, the steel bush and the brass clamp. Tighten the screws with a drill on its clutch setting, never an impact driver, which can crack the fitting. Keep the cable connector dry and free of dust.
Fit the Alia pressure limiting valve to the cold stop tap. Check its O-ring is seated before you tighten it. Don't rely on a valve that's already in your home.
If your mains pressure is above 500 kPa, the Bollente manual asks for a pressure reducing valve on the cold mains inlet. Your plumber can check this.
Fix the filter head where you can reach it to change the cartridge, with its carriage facing down.
Wrap both threads with thread-seal tape and fit the two grey connectors. Tighten them by hand, then finish with a spanner. Don't over-tighten, or the O-ring or the plastic fitting can crack.
Water flows through the filter one way only. Follow the arrow on the head, from in to out.
Connect hose 2 to the hot stop tap. Fit a T-piece to hose 1 and connect it to the pressure limiting valve. These two feed the mixer lever.
The tap threads are reversed. Hold the hose, or its collar with a second pair of pliers, so it doesn't unwind from the tap as you tighten.
Fit hose 5 to the same brass T-piece and run it to the inlet side of the filter head.
Before you fit each push-fit hose, take off its plastic C locking clip. Push the hose in until you feel it click, then refit the C locking clip. Don't push a hose in and out again and again, as that scratches and damages the seal.
Slide the filter into its cradle and take the cap off the cartridge. Push it into the head and turn it clockwise until it locks.
Write today's date on the label, so you know when it's due for a change.
Stand the Bollente upright and level, close to the tap. Check the hoses reach it without twisting and the plug reaches its powerpoint without stretching.
Leave 50–100mm of air at each side and about 25mm at the back. Keep the display at the front, where you can reach it.
Take the clips off the control box and check the fittings are clean inside. It's very important to follow the arrows on the back, which show which way the water flows.
Fix it to the back wall of the cabinet, where it stays dry, with room around it for servicing.
Stand the Chilled Stream level, with space around it for air. It gives off heat, so the cabinet needs a vent. Without one, its manual asks you to keep the cabinet door open while it runs. A large cabinet with plenty of space around the Chilled Stream doesn't need a vent.
Take the blue clips and covers off Water In and Water Out. Water In comes from the filter. Water Out goes to the tap.
Connect the boiling side of the control box to the blue inlet on the Bollente.
Take the O-ring off hose 4 and fit it onto the red outlet on the Bollente. Connect hose 4 and tighten it gently.
From the filter outlet, fit a T-piece. Run one line to IN on the control box and one to Water In on the Chilled Stream.
Run the chilled line from Water Out on the Chilled Stream to the control box. Then connect hose 3 from the tap to the control box.
Refit every C locking clip.
Join the low-voltage cable from the tap to the control box. Check both ends are dry and free of dust before you connect them.
Check every C locking clip is in and the cabinet is dry. Turn on the hot and cold water and run the mixer lever for 10 seconds. Check every connection point.
Plug the control box into its powerpoint and switch it on. Hold the padlock for 2 seconds, then hold the red boiling button. Water fills the Bollente first, then flows from the spout.
Repeat every 20 seconds until a steady stream flows. It takes about 2 minutes. Check the connection points again before you plug in the Bollente.
Plug in the Bollente and switch on its powerpoint. Hold its power button for 3 to 4 seconds. Choose your temperature with SET and confirm with OK.
It's set to 98°C by default. If the water seems to boil all the time, lower the setting to 95°C.
Press the chilled button once and let it run until water flows steadily, so the Chilled Stream tank is full. Press it again to stop. If the panel doesn't respond, unlock it first.
Plug in the Chilled Stream and switch it on. Run chilled water for five minutes to flush it, and don't drink it until it's flushed. Within 15 minutes the water should start to get colder.
With everything running, check every connection point once more. Make sure the install date is on the filter label.
Show the household how the child lock works for boiling water.
From Alia's X51 dimensional drawing. Drill a 35mm hole in the benchtop for the tap.
| Part | Detail |
|---|---|
| Tap | 424mm high, 222mm reach, 260mm from the benchtop to the outlet |
| Benchtop hole | 35mm |
| Bollente boiling unit | 195mm wide, 200mm deep, 295mm high. 2.4 L tank, up to 1.6 L per pour, 1600 W |
| Boiling temperature | Seven settings from 35°C to 98°C, set to 98°C by default |
| Chilled Stream | 140mm wide, 350mm deep, 310mm high |
| Chilled water | 8–12°C |
| Filter | F5000L, 5-micron activated carbon block. Change it every 8–12 months |
| Powerpoints | Three, one per unit |
| Cabinet space | 500mm wide, 580mm deep, 450mm high inside |
| Pressure limiting valve | 500 kPa, supplied |
Nothing matches that search. Our team can help on (03) 9219 0189
Call or email our team. Have your model and proof of purchase handy.