Product support

Alia 4 in 1 Chilled Upgrade Kit setup and support

How your licensed plumber adds the Chilled Stream to your 4 in 1 Boiling and Ambient tap. What changes at the handle, and where to get help.

Alia 4-in-1 boiling and chilled tap system diagram showing the tap, filter and under-sink units

About the kit

What the kit does

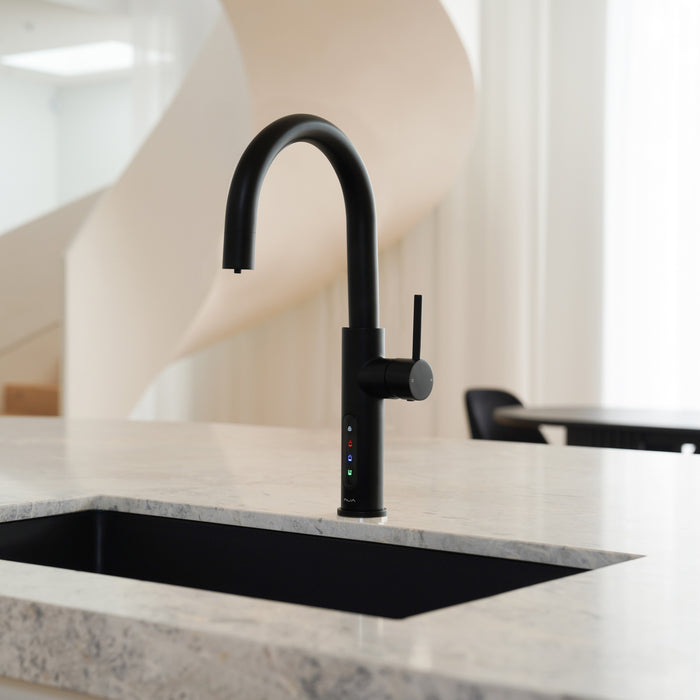
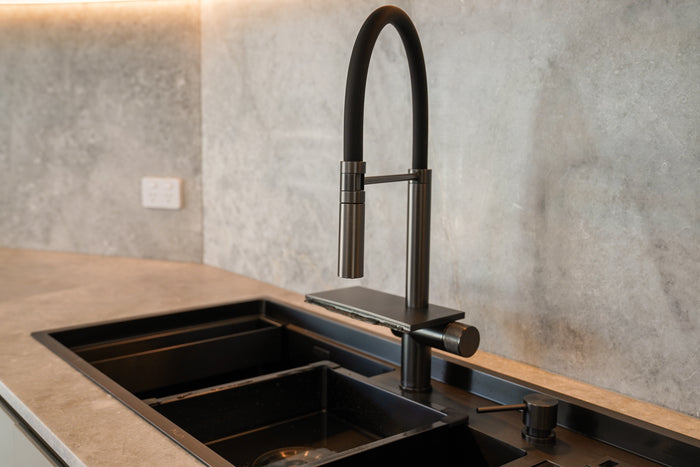
The kit adds chilled water to an Alia 4 in 1 Boiling and Ambient tap that is already installed. A chilling unit, the Chilled Stream, goes in the cabinet beside your Bollente.

Your tap and its handles stay where they are. Once the kit is fitted, your system matches the Alia 4 in 1 Boiling and Chilled.

What comes in the kit

  • Chilled Stream chilling unit, with its power cord
  • New tubes and fittings to connect it

Your 4 in 1 tap, Bollente and F5000L filter stay in place.

Which tap it fits

Only the Alia 4 in 1 Boiling and Ambient tap. On your invoice, its model code starts with AG-R41.

Have an Alia X51 Boiling and Ambient tap? See the Alia X51 Chilled Upgrade Kit guide.

Before your plumber starts

Cabinet space

The upgraded system fits a clear space 500mm wide, 580mm deep and 450mm high inside the cabinet. That is the space your system needs today.

The Chilled Stream is 140mm wide, 350mm deep and 310mm high. It stands beside the Bollente and needs space around it for air.

Power

The upgraded system needs two powerpoints under the sink, one for the Bollente and one for the Chilled Stream. That is one more than you have now.

The Chilled Stream plugs into its own earthed, switched powerpoint. Don't use a double adaptor or an extension lead.

If there is no spare powerpoint, a licensed electrician must fit one before installation day.

Fitting the kit

Your system after the upgrade

This is the drawing your plumber works from, with the Chilled Stream in place. The hose numbers match Alia's 4 in 1 Boiling and Chilled installation guide, in the downloads below.

Step 1. Place the Chilled Stream

Stand the Chilled Stream level, with space around it for air. It gives off heat, so the cabinet needs a vent. Without one, its manual asks you to keep the cabinet door open while it runs. A large cabinet with plenty of space around the Chilled Stream doesn't need a vent.

Take the blue clips and covers off Water In and Water Out. Water In comes from the filter. Water Out goes to the tap.

Step 2. Connect the chilled line

On your system today, hoses 3 and 4 both run from the T-piece at the filter outlet up to the tap.

After the upgrade, hose 3 still runs from the filter outlet up to the tap. A new line runs from the filter outlet to Water In on the Chilled Stream.

Hose 4 then runs from Water Out on the Chilled Stream up to the tap.

Use the new tubes supplied, never old ones. Push each tube in all the way and refit its blue clip.

Step 3. Fill the Chilled Stream

Turn on the water. Turn the left handle towards you and run chilled water for 60 seconds. This fills the Chilled Stream.

Step 4. Check for leaks before power

Check every connection point. Tighten any that leaks, then fill and check again before you plug anything in.

Step 5. Switch on the Chilled Stream

Make sure the cabinet is dry. Plug in the Chilled Stream and switch it on.

Run chilled water for five minutes to flush it, and don't drink it until it's flushed. Within 15 minutes the water should start to get colder.

Step 6. Switch the Bollente back on

Plug the Bollente back in and switch on its powerpoint. Check its display is lit.

If the display is dark, hold the power button for 3 to 4 seconds. Choose a temperature with SET and confirm with OK.

Step 7. Final check and handover

With everything running, check every connection point once more.

Show the household that the left handle, turned towards you, now pours chilled water.

After the upgrade

What changes, and what stays the same

What changesBeforeAfter
Left handle, turned away from you with the safety button heldBoiling water, 35–98°CNo change
Left handle, turned towards youFiltered ambient waterChilled water, 8–12°C
Mixer lever on the rightHot and cold water from the mainsNo change
Under the sinkBollente and filterBollente, Chilled Stream and filter
PowerpointsOneTwo

Pour chilled water

Turn the left handle towards you for chilled water, at 8–12°C. Turn it back to stop. Before the upgrade, the same turn poured filtered ambient water.

Boiling water and the mixer lever work as they did before.

Can I add sparkling water to my 4 in 1?

No. The 4 in 1 can't pour sparkling water. For boiling, chilled and sparkling water from one tap, see the Alia X51 Boiling, Chilled and Sparkling.

Troubleshooting

The chilled water isn't cold yet

After you switch it on, the chilled water should start getting colder within 15 minutes. Give it time after heavy use.

Check the Chilled Stream has air around it and its vents are clear.

If it stays slow to cool, move it out of direct sun and away from heat, such as an oven or dishwasher. If the cabinet is small, check it has a vent.

The Chilled Stream doesn't turn on

Check its plug is in and its powerpoint is switched on. Check the cord isn't damaged. If the cord is damaged, don't use the unit and call us.

E1The Chilled Stream shows E1

E1 means the temperature probe needs checking. Switch the Chilled Stream off and call us on (03) 9219 0189. Don't open the unit.

There's water under the sink

Turn off the stop taps and switch off each unit at its powerpoint. Dry the area and look for the wet connection point.

Call your plumber to fix it, and call us on (03) 9219 0189 if a part needs replacing.

Warranty and help

Your warranty

Your kit is covered by Alia's 2-year warranty, like every Alia product. Keep your proof of purchase.

Don't open, modify or repair a unit yourself. It's unsafe and it voids your warranty. Read the full warranty policy.

Downloads

Still need help?

Call or email our team. Have your model and proof of purchase handy.